


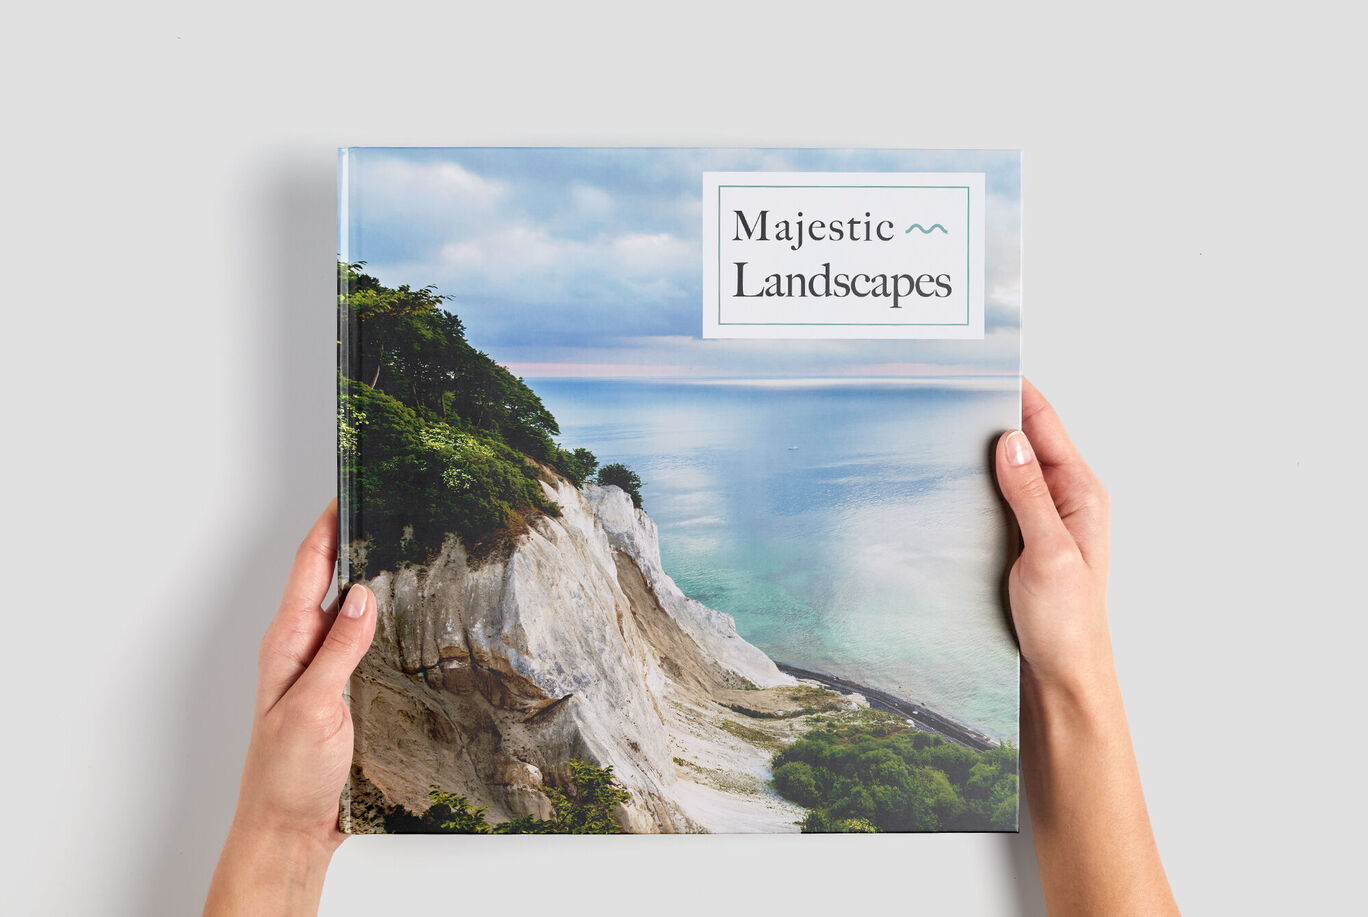
Large Portrait Photo Book
Plenty of room to display your favourite memories
At 21 x 28 cm (near A4), our Large Portrait CEWE PHOTOBOOK is just the right size to show off multiple photos per page. Perfect for a portfolio, year book or travel guide.
- 21 x 28 cm
- Up to 202 pages
- Professionally printed and bound
- FSC®-certified
Get started
Product Features
Format:
Portrait format: Approx. A4 in size (approx. 21 x 28 cm)
Number of pages: 26 to 202
Cover:
Hardcover, softcover or booklet
Add Highlights: gold, silver, rose gold or gloss
Paper type:
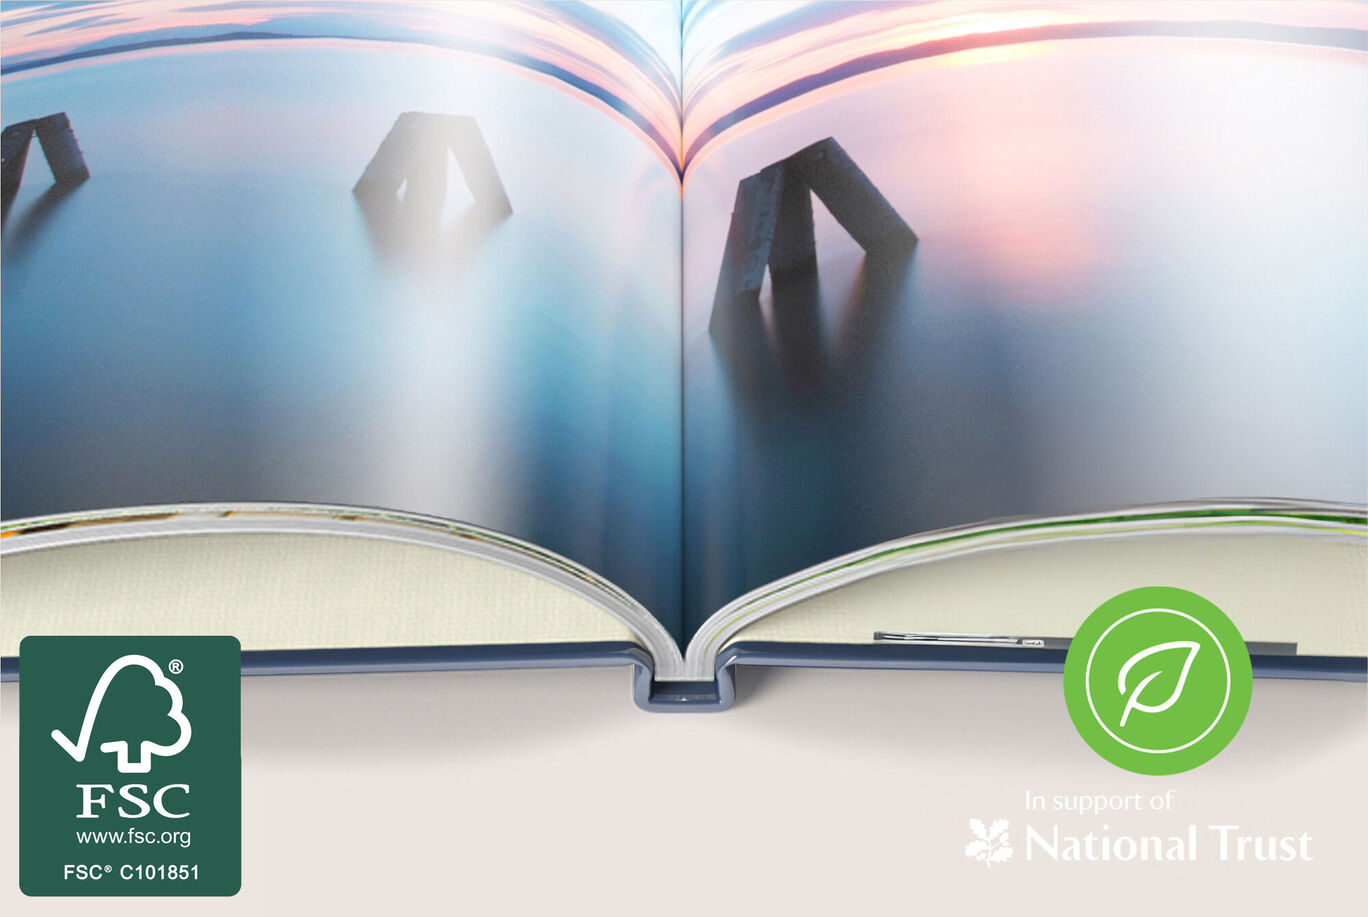
FSC® certified paper from sustainable forestry
Choose from digital printing with traditional binding, or FUJIFILM photographic printing with layflat binding
Pick the right paper for your portrait photo album


Design a landscape photobook that is as beautiful as your stories

Adding text? Try matte paper
For storytellers and journal keepers, your words are every bit as important as your photographs. That’s why when you create your photo book with CEWE, we put a huge range of typography options at your fingertips. Get creative with font choices, colours, orientation and more, so you can present your words your own way. For photo books with lots of text, try our True Matte Paper. Its smooth, matte finish will ensure your words are easy to read, with no reflections or glare. Alternatively, why not upgrade to our Matte Photographic Paper? It has all the same benefits, but also features our specialist Layflat binding. With its seamless double page spreads, you can rest assured that not a single word will be lost in the gutter between the pages. Ready to create something special? Download our software to get started.

Tell your story with a Large Portrait CEWE PHOTOBOOK
If you want plenty of room to display and style your favourite memories, this near A4 photo album is just what you need. Add details such as names and dates, or recount a special memory alongside your photographs, to really revel in the moments you captured and preserve them to revisit again and again.
Cover types
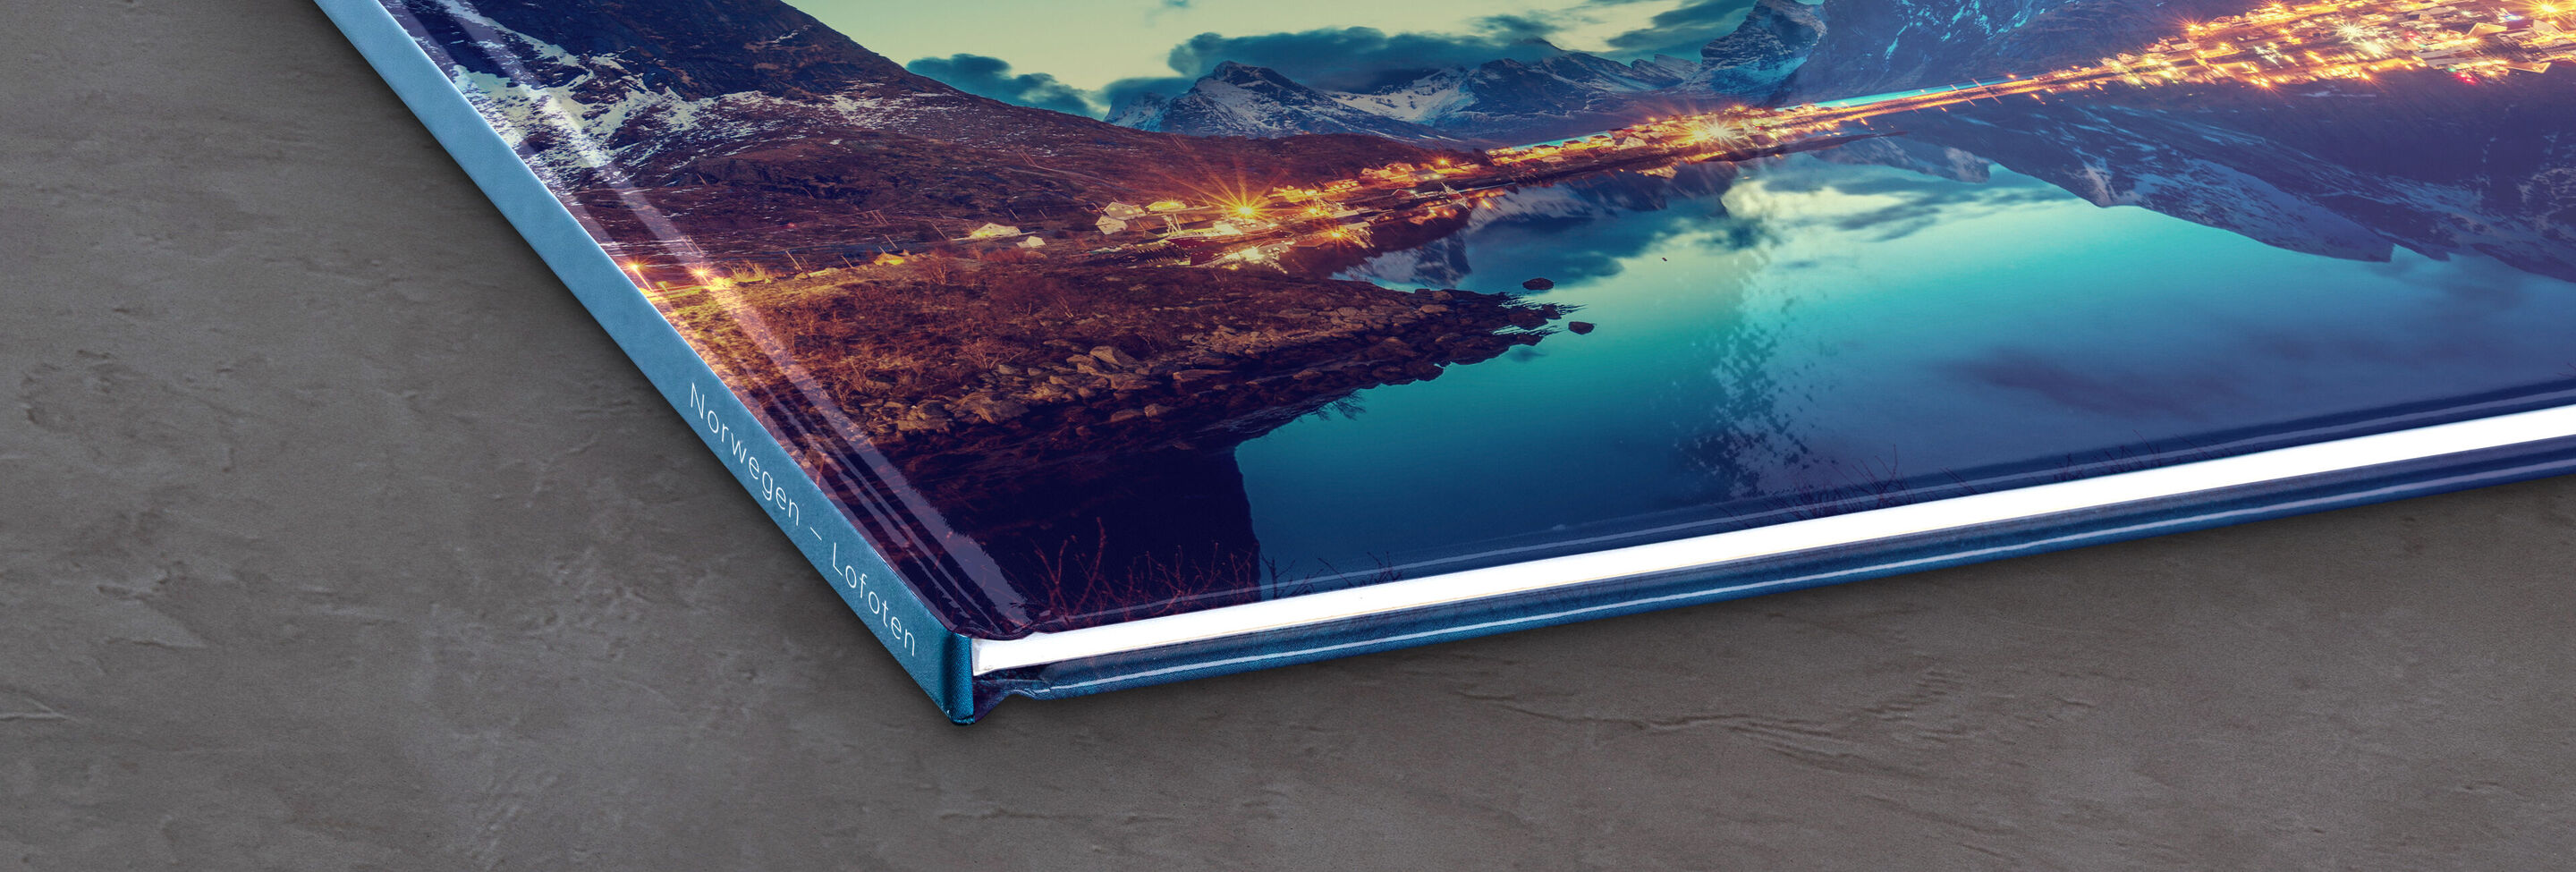

Choose a traditional, durable, hard-backed cover to protect your photo book.
- High quality
- Customisable spine
- Gold, Rose Gold, Silver or Gloss Highlights available
- Available with up to 178 pages


Our flexible, lightweight softcover photo books are perfect for carrying on the go, making your photo book incredibly versatile and easy to flick through.
- Flexible, Laminated Cover
- Personalised Softcover
- Personalised Spine
- Available with up to 130 pages


Just like a brochure, the pages inside the booklet cover fold into each other and are held together by staples.
- Available with up to 50 pages
- Cover with staple binding
- Pages fold into each other, just like a brochure
Highlights for your Hardcover CEWE PHOTOBOOK


CEWE PHOTOBOOK Presentation Box

The perfect gift experience
Whether your CEWE PHOTOBOOK is a personal, thoughtful gift or a lasting memento of a special event, few things can match a beautifully boxed photo book. Perfect for weddings, birthdays and Christmas, our presentation boxes are available in a range of sizes.
- Available for photo books in Large, XL and XXL
- Elegant, stylish brushed matte finish
- Magnetically sealed and opened by a sleek white ribbon
Simply add a presentation box to your basket when ordering through the online editor or our Creator Software.
FAQs about the personalised Large Portrait Photo Book
Every CEWE PHOTOBOOK product is professionally printed and bound, but we do provide additional features that can really elevate yours. You can choose premium designs that will take the guesswork out of the customisation process. Consider adding embossing effects (called Highlights) to text and graphic elements on your hardcover (available in Gold, Rose Gold, Silver and Gloss). You may even consider Leather or Linen hardcovers depending on your requirements. Lastly, you can upgrade to a photographic paper to create a layflat photo book that allows your photos to seamlessly flow across pages without a gap inbetween them.
Any photo size can be added to a photo book but in order for it to print well, you'll need to make sure the Smart Quality Indicator shows a green smiley face, indicating if the photo is of good quality. If the smiley face is yellow or red, or you see a warning triangle, then the photo's resolution is too low. In that case, we recommend changing the photo for another, or making the photo smaller on the page, until you see the smiley face change colour.
Yes, you can create a photo book from a PDF. If you've created (or are preparing to create) a photo book in another editing program and want to print it as a CEWE PHOTOBOOK, please see the user guide and the artwork templates.
Get inspired with our blog and tutorials


More photo books you'll love


Enjoy 10% off Europe’s most loved photo book
- Plus, receive a 10% welcome discount on your first CEWE PHOTOBOOK.
Please check your email
Please confirm your subscription by clicking the link in the email you will receive shortly.
You can cancel your subscription at any time by clicking the unsubscribe button, or by changing your preferences in your Account.
We're sorry
Unfortunately, we were not able to sign you up for our newsletter. Please try again later.


